
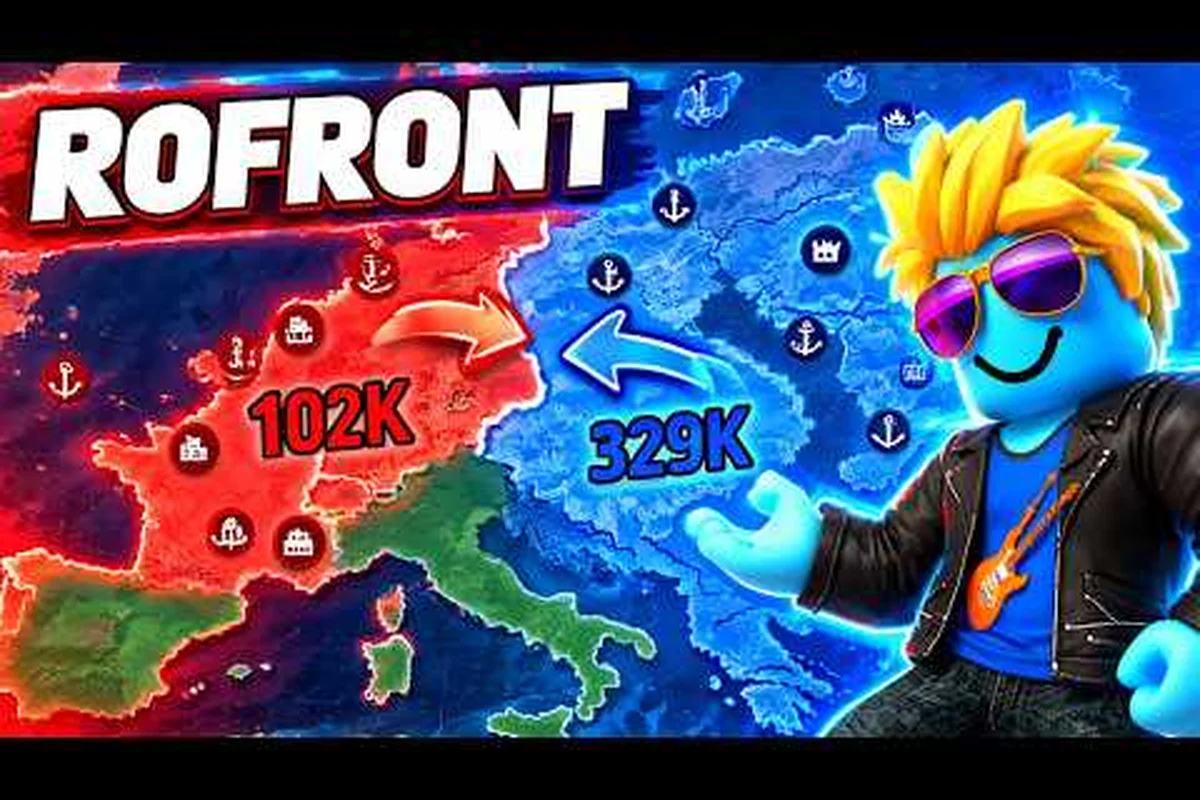
The rofront endgame guide turns the final stretch of a match into a connected plan: secure an economy that survives a war, connect territory that actually matters, keep an army reserve, and time nukes for real openings. This article covers the 80% control objective, target selection, alliance pressure, and the mistakes that cost players the final ~20% of the map. Follow the endgame checklist to avoid spending the whole treasury on one push, and use the FAQ to answer the most common late-game questions before your next match.
RoFront Endgame Planning and the 80% Control Goal
The RoFront endgame guide matters because the official win condition is unusually clear: control 80% of the world to win. That makes this rofront endgame guide less about one final battle and more about a repeatable chain of economy, territory, armies, alliances, and nuclear decisions. Get those systems aligned, and even a smaller alliance can pressure every major competitor without spending every resource at once.
The official RoFront game page describes a shared real-time map with 88 player nations and hundreds of tribes. The same page lists a server limit of 55 players, so you should expect competition for every valuable region. The best path is to arrive at the late game with a stable economy, strong border defenses, and enough military power to punish weak neighbors.
A useful rofront progression guide divides the endgame into four connected stages, but each stage should have its own measurable exit condition before the next begins: economic readiness means city, port, and factory income covers army upkeep; territorial leverage means connected regions limit rival attack routes; military readiness means a dependable field army can defend one front while concentrating elsewhere; and strategic closure means alliances, adjacent fronts, and nuclear pressure stop competitors from taking the final map segments. For example, rather than expand every border immediately, a nation with surplus resources can secure a high-value port corridor first, use that connection to fund a focused offensive, and postpone wider consolidation until the approach is stable.
-
Economic readiness: Your cities, ports, and factories should produce more than your current army consumes.
-
Territorial leverage: Your borders should connect economically useful regions while reducing obvious attack routes.
-
Military readiness: A dependable army should support both local defense and a concentrated offensive.
-
Strategic closure: Nukes, alliances, and adjacent fronts should be used to prevent rivals from taking the final pieces of the map.
Community experience also supports a gradual route rather than a single all-out rush. A player progression breakdown on YouTube emphasizes how early land choices and army saving continue to shape late-game dominance. That makes this guide to rofront how to progress fast practical: early resource decisions become endgame leverage.
Building the Economy That Supports 80% World Control
A strong endgame begins with income that survives a war. If your production depends on one exposed city, every enemy strike threatens both your treasury and your ability to repair the front. A more resilient setup spreads revenue across several connected assets, with ports and factories protected by the same territorial network. The RoFront economy guide explains how to build a stronger income base before committing to a final conquest.
Measure Your True War Reserve
Separate your current balance from the money you can reliably spend. A practical reserve should account for several likely expenses at once, including new troops, border repairs, lost city income, and a possible emergency rebuild. Treating all displayed money as disposable is one of the most expensive rofront mistakes to avoid because a single successful defense can drain your balance faster than expected.
| Reserve category | What it covers | Practical response |
|---|---|---|
| Army reserve | Troop recruitment and reinforcement | Pause nonessential spending if active fronts exceed one |
| City reserve | Repairing damaged settlements and facilities | Keep a separate balance for high-risk regions |
| Nuke reserve | Weapon upkeep and eventual launch costs | Do not launch until the target is strategically useful |
| Expansion reserve | Ports, factories, and new settlements | Fund only after the main defensive line is stable |
The best reserve depends on your map position, not a universal number. A nation surrounded by weak players can operate with a smaller active-war buffer, while a nation facing several aggressive neighbors should preserve more money. If you are unsure how your income functions, the RoFront beginner guide is a useful foundation for understanding cities, ports, factories, troops, and alliances.
Connect Valuable Territory
Territory is more than a percentage counter. A disconnected cluster may show control on the map while delivering few strategic benefits. Aim for a chain of settlements that connects your industrial centers to your military frontier, because shorter supply routes make it easier to shift troops where the enemy is actually attacking.
Apply this test to every new capture: it must strengthen the connected territory network, not merely add another control-point percentage. A useful example is a forward settlement that links an industrial center to an active frontline: if it shortens troop reinforcement routes, reduces exposed border length, and supports the advance toward 80% control, its value exceeds that of a remote percentage gain. Before committing resources, compare the expected income, production capacity, and defensive coverage gained against the supply-route and vulnerability costs.
-
Does it improve income, production, or military capacity?
-
Can your forces reinforce it without crossing hostile territory?
-
Does it reduce the number of exposed borders?
-
Can you defend it with existing infrastructure?
-
Does it advance you toward a credible path to 80% control?
A settlement that answers yes to only the first question may look impressive on the map but still be a liability. Endgame expansion should strengthen the whole operation. If you routinely produce more money than you can spend, the RoFront strategy guide for beginners can help you identify whether saving, defending, and converting income into armies would improve your position.
Territory Scoring and Late-Game Fronts
The 80% objective changes how you should value land. At the start, any expansion may be useful. Near the end, each percentage point can determine whether an opponent remains viable. That means a percentage alone does not reveal whether a capture is strategically sound; you also need to examine adjacency, value, and military pressure.
Rate Each Target Before Attacking
A good target contributes more than a large area. Coastal or industrial positions may be harder to replace than remote land, while a target bordering a major rival can prevent that rival from gaining a continuous invasion route. Conversely, distant land may be cheap to take but expensive to defend.
| Target factor | High-value signal | Low-value signal |
|---|---|---|
| Location | Connects valuable regions | Creates a distant isolated pocket |
| Defense | Weakly garrisoned | Heavily fortified and supported |
| Economy | Adds income or production | Adds little lasting value |
| Border effect | Blocks a major rival’s path | Opens another exposed route |
| Cost | Reachable with current army | Requires a prolonged two-front campaign |
Avoid attacking every weak neighbor in sequence. That can leave you with scattered forces, depleted reserves, and a rival who takes your exposed territory while your army is elsewhere. Instead, choose one primary front and one secondary distraction. The primary front receives your strongest army; the secondary target exists to force the opponent to spend troops or attention elsewhere.
Use the 70% Decision Band
There is no official rule that the game changes at 70%, but it is a useful planning marker for reading the endgame pressure. When you approach that range, evaluate three items together rather than looking only at the map percentage. For example, if your sector control rises from roughly 65% to 72% while a rival still has a stable frontline and fast unit replacement, the higher figure may not improve your practical position. Use the band to compare front adjacency, resource pressure, and opponent recovery before committing to a major offensive, because a percentage gain without secured supply lines can create a fragile map rather than real control.
-
Opponent recovery: How quickly can each rival rebuild or replace losses?
-
Front adjacency: Which territories could change hands in the next major assault?
-
Resource pressure: Can your economy fund another offensive without weakening essential infrastructure?
If opponents can recover quickly, you need to attack connected areas and prevent them from linking their strong regions. If your economy is strained, consolidate captures instead of opening another broad front. A larger map percentage with vulnerable supply lines is not control in the practical sense.
Army Composition and the Final Offensive
Reaching the late game does not guarantee that your army can win a decisive fight. Unit quantity matters, but so does whether your forces can protect cities while attacking elsewhere. The RoFront military guide covers recruitment and force preparation in greater detail, while the endgame focus is deciding when your army should move as one.
Build a Defensive Shield Before Attacking
Your strongest troops should not always be assigned to the offensive. If a rival can capture one unprotected city, repair its infrastructure, and redirect income into a counterattack, your offensive can become a losing trade. A reliable reserve near your most valuable border gives you time to respond when an attack lands on the opposite side of your territory.
| Army allocation | Main purpose | Best time to use it |
|---|---|---|
| Border garrison | Slow enemy advances and protect cities | Whenever a major front becomes active |
| Central reserve | Reinforce the weakest point under pressure | After identifying an enemy breakthrough |
| Main offensive force | Capture connected territory | When economy and borders are stable |
| Diversion force | Split enemy attention | Alongside a primary offensive |
Watch the map for two-front pressure. When a player attacks one border and another player moves against a different border, a fixed defense can fail. Keep central reserves mobile and avoid splitting the main offensive into disconnected fragments. You can progress faster when every march supports a clear territorial objective rather than chasing isolated neutral territory.
Choose a Connected Assault
The most effective final offensive usually advances along connected settlements. This limits supply problems, creates overlapping capture options, and gives your army a clear route to the next objective. The weaker the opponent’s control becomes, the more valuable it is to prevent them from linking isolated pockets into one strong region.
Before committing, ask four questions: first, compare the army’s available combat power and supply with the defense already assigned to each connected settlement; for example, an attack on a cluster may fail if one front has only a small screening force, even when the target chain looks secure. Second, check reinforcement travel time between the staging point and the next objective, because a short march can still arrive after the defender’s reinforcements. Third, define a fallback settlement and a supply cutoff, so the offensive does not become a stranded push. Fourth, assess whether a nuke or concentrated counterattack could break the capture chain, and keep reserves positioned to stabilize the first settlement won rather than chase a second one.
-
Can my army sustain the march without abandoning another critical front?
-
Are the target settlements close enough to reinforce each other?
-
What happens if the attack stalls halfway through?
-
Can the enemy use a nuke or a concentrated counterattack to reverse my gains?
A good offensive can absorb one setback. A poor offensive wins the first battle, exhausts its army, and then loses the strategic initiative. A rofront progression guide should therefore treat retreat conditions and reinforcement timing as part of the plan, not as details to decide after the first clash.
Nuke Timing and Strategic Disruption
A nuke is most valuable when it changes the balance of the map rather than merely removing one defender. RoFront includes nuclear weapons as part of its late-game competition, and the RoFront nuke guide covers unlock and launch details. For the endgame, timing is the decisive question.
Use Nukes to Open Doors
The best target is usually a high-value area whose loss gives you a military or economic advantage. Strong positions can be worth attacking, but a nuke becomes more useful when it disrupts several enemy plans at once, such as destroying a defensive hub or clearing a corridor needed for a larger advance.
| Target condition | Why it can be strong | Main risk |
|---|---|---|
| Critical border city | Opens a route for a prepared army | Enemy counterattack during the assault |
| Major economic hub | Removes income and delays recovery | Waste if your army cannot capture the area |
| Defensive concentration | Damages an army before a frontal attack | Enemy rebuilds faster than you can advance |
| Strategic junction | Splits enemy territory and improves movement | Prolonged defense of a captured route |
A nuke used merely because a target is technically weak may achieve little. Ask how you will convert the opening into permanent control. If your army is too far away, the enemy may rebuild or another player may seize the damaged region before you arrive. Preparation is what separates a useful nuke strike from an expensive reset of the opponent’s defenses.
Reserve Enough Power for the Finish
Do not spend every nuclear resource on a secondary target if doing so leaves you without a response to a major rival. Keep one option for a critical enemy breakthrough, another for a high-value conquest, and a further reserve if your alliance network is weak. Exact costs may change with the game version, so check the current interface and use community reports only as supporting context when planning.
Timing also matters within the match. Launching during a coordinated allied attack can divide enemy attention, but firing into an active stalemate may simply remove one obstacle while your ally takes a different objective. Coordinate the intended follow-up before the launch, not afterward.
Alliances, Rivals, and the Race to 80%
By the final stage, the map is a contest between coalitions, not isolated players. An alliance can divide defensive labor, open coordinated fronts, and make a larger offensive credible. It can also create confusion if every member expects another nation to carry the burden.
Make Every Alliance Beneficial
Before accepting a partner, determine what it contributes. Useful cooperation can involve intelligence about another player’s movements, a shared attack on a common border, access to reinforcement routes, or a clear division of contested regions. An alliance that only demands support without coordinating targets creates friction rather than strength.
| Alliance pattern | Advantage | Warning sign |
|---|---|---|
| Shared target | Forces enemy resources to split | Members attack different objectives |
| Complementary borders | Reduces simultaneous threats | One member leaves its front exposed |
| Temporary non-aggression | Prevents conflict during expansion | It becomes a permanent obstacle to conquest |
| Mutual reinforcement | Improves response speed | No agreement on who moves first |
Your strongest relationships may come from players whose geographic interests differ from yours. A neighbor that wants a shared port region and another that wants distant resources may be more useful than two players with identical goals. If you still need basic diplomacy information, the beginner strategy guide provides a foundation for alliances and territorial decisions.
Track the Threat You Cannot See
A quiet rival can be more dangerous than an active attacker because preparation often precedes the first visible engagement. Watch for signs such as troop movement, fortification construction, unusual recruitment, and shifting alliances: each may reveal an opponent’s preparation to control a key city or gain access to your territory.
-
A sudden concentration of troops near one of your borders
-
New fortifications around a contested city
-
Repeated recruitment that exceeds a normal defensive need
-
An alliance that suddenly creates access to your region
-
A player gaining control of territory connecting two larger powers
Respond before the attack begins. Reinforce the threatened border, propose a temporary agreement, or launch a limited counterattack that disrupts their preparation. Waiting until multiple cities are under attack usually forces you to spend the reserves that should have funded your final offensive.
Common RoFront Endgame Mistakes to Avoid
Even a strong economy cannot overcome every poor decision. The difference between the top players and an average finish is often consistency during the final 20% of the map, where a single mistake can give a rival enough room to recover. Review the following mistakes before committing to your next major attack.
Mistakes and Corrections
| Mistake | Why it damages your position | Corrective action |
|---|---|---|
| Spending the full treasury | One emergency can disable your next move | Maintain a separate war reserve |
| Chasing distant land | Isolated captures weaken the core | Prefer connected territory |
| Attacking with every unit | Cities become vulnerable | Keep a central defensive reserve |
| Launching an unplanned nuke | The opening may close before you exploit it | Define the follow-up attack first |
| Treating an alliance as permanent | Players change when incentives shift | Review shared goals regularly |
| Watching only your own border | The real threat may be forming elsewhere | Track troop concentrations and alliances |
| Celebrating before stabilizing | Unfinished captures invite counterattacks | Secure supply lines before expanding |
The most common rofront how to get better lesson is to review decisions after each major battle. Track money, lost settlements, army movement, and the opponent’s response. If you won the fight but lost the economic advantage afterward, the engagement was not a strategic success.
A Repeatable RoFront Endgame Checklist
A final checklist turns a complicated map into manageable decisions. Use it before every offensive and again after every major capture. The goal is not to slow the game down with constant analysis; it is to prevent avoidable mistakes while keeping your strongest options open.
| Timing | Check | Desired action |
|---|---|---|
| Before attacking | Economy | Income exceeds routine and emergency costs |
| Before attacking | Borders | No unmonitored breakthrough route |
| Before attacking | Army | A mobile defensive reserve remains |
| Before attacking | Nukes | Each launch has a clear follow-up objective |
| During battle | Fronts | Forces reinforce the point of failure |
| After victory | Captures | Supply lines and city infrastructure are secure |
| After victory | Opponents | Recovering rivals cannot launch a free counterattack |
If you are searching for practical rofront how to get better advice, focus on one repeated decision each match. Some players save too aggressively, while others expand without a defensive reserve. Recording a short post-match note helps you distinguish a temporary setback from a persistent strategic habit.
Community advice is useful when it reflects repeated player experience rather than a single match. The Radex Tips progression video highlights fast income, effective nuclear use, and expansion toward conquest, while a community beginner strategy thread lists familiar fundamentals about territory, economy, and troop training. Treat community guidance as a source of tested ideas, then confirm current mechanics against the live game because balance may change.
The best final move is usually the one that keeps your options strongest: economy intact, borders covered, army supplied, and a clear target selected. That approach makes this rofront endgame guide practical from the first major push to the last points needed for 80% control.
Frequently Asked Questions
How should I approach the RoFront endgame?
Treat the endgame as a connected planning phase rather than a final sprint. Build a strong economy, secure borders, keep an army reserve, and choose attacks that improve connected territory. Your goal is to reach 80% control with a defensible position instead of briefly owning a large percentage through scattered captures.
When is the best time to use a nuke in RoFront?
Use a nuke when it opens a route, destroys a critical hub, or disrupts a major enemy concentration, and when your army is ready to exploit that opening. Firing at a distant or lightly valuable target may waste the resource. Always decide the follow-up attack before launching.
How can I progress quickly without leaving my economy weak?
Fund only the actions that create a clear advantage, such as connecting valuable territory or reinforcing a threatened front. Keep separate reserves for troops, repairs, and nuclear opportunities. A larger army built by draining every settlement can appear stronger while leaving you unable to recover after a loss.
What are the most damaging RoFront mistakes to avoid in the late game?
The most damaging errors are overextending, attacking without reserves, spending the entire treasury, and using nukes without a follow-up plan. These mistakes cause temporary wins to create long-term weaknesses. Protect your economy and supply lines, and make every late-game operation reinforce a larger strategic goal.
Should I prioritize 80% control or defeating one rival?
Prioritize the goal that directly threatens your 80% path, but never ignore a rival whose recovery would make that path impossible. A major competitor may control the territory you need, while a smaller player may be expanding rapidly and could soon become relevant. Track both immediate borders and long-term coalition strength.